The Best At-Home Recovery Setup for Busy Schedules
If you’re busy, recovery usually becomes one of two things:
- A vague idea (“I should stretch more…”)
- A once-a-month panic purchase (“Maybe I need a $4,000 device?”)
Neither one works.
What works is a setup you can actually use when your day is stacked, your energy is low, and you don’t feel like negotiating with yourself.
This is a no-guesswork at-home recovery setup built for busy schedules:
- minimal decisions
- fast sessions
- high consistency
- scales up if you want to go premium later
If you want my short list of tools worth buying (and why), I keep it updated here: Recommended Tools
The goal (so you don’t build the wrong setup)
The best recovery setup isn’t the fanciest one. It’s the one you’ll use 4–6 days per week.
Your at-home recovery setup should do three things:
- Downshift your nervous system (so your body actually recovers)
- Reduce stiffness + soreness (without aggravating things)
- Fit your schedule (busy people don’t “find time,” they build defaults)
If your setup doesn’t create a default… you won’t use it.
Start here: the Minimum Effective Recovery Stack
If you’re brand new to recovery tools, do not try to build the “perfect” room first.
Start with the version you will actually use.
For most people, that means:
- one anchor tool
- one simple tissue-work tool
- one timer
- one repeatable routine
If you’re newer to sauna, start here: A Beginner’s Guide to Infrared Sauna.
If you’re newer to cold exposure, start here: Cold Plunging for Beginners.
This is the baseline I’d build for anyone who wants to feel better without turning their house into a wellness showroom.
The 3-item foundation
1) One “anchor” tool: heat or cold
For busy schedules, heat usually wins because it’s easier to stick with consistently.
2) One tissue-work tool (one, not five)
Foam roller or massage gun or lacrosse ball. Pick the one you’ll actually use.
3) A frictionless timer system
Phone timer works, but having a simple timer in the same spot removes mental friction.
That’s the foundation. Everything else is optional.
The 3-tier setup (choose your budget + personality)
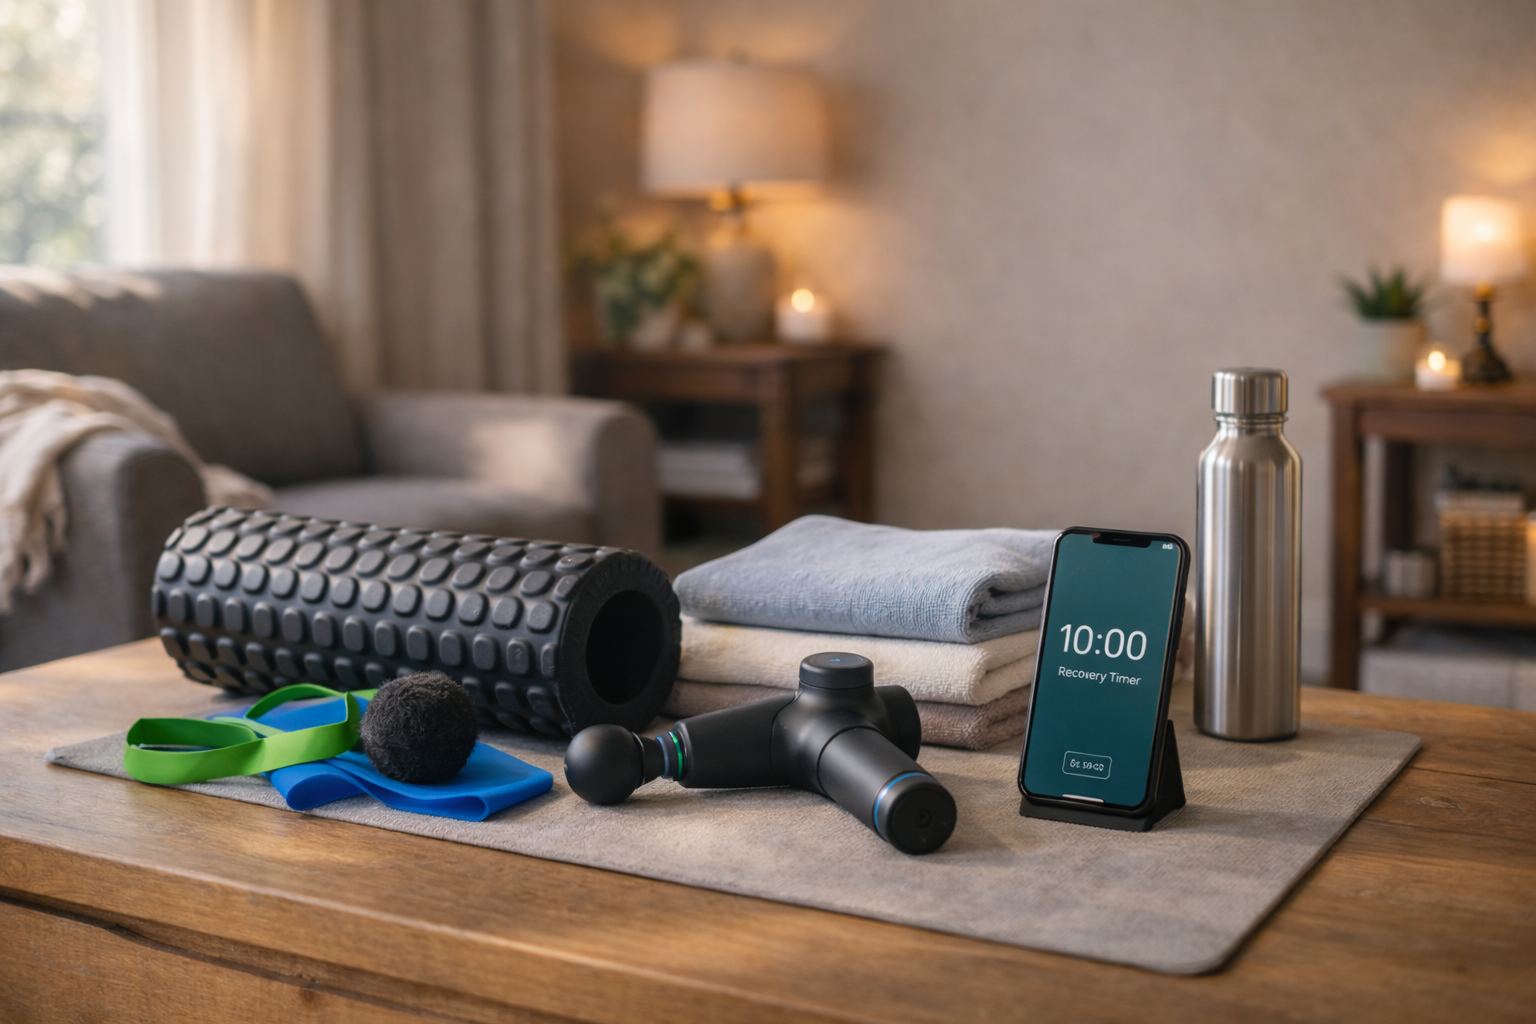
Tier 1: The Busy Adult Starter Kit (Budget-friendly, high consistency)
This is for people who want recovery to happen without planning.
Core items
- Foam roller or massage gun (choose one)
- Lacrosse ball (targeted work: feet, glutes, upper back)
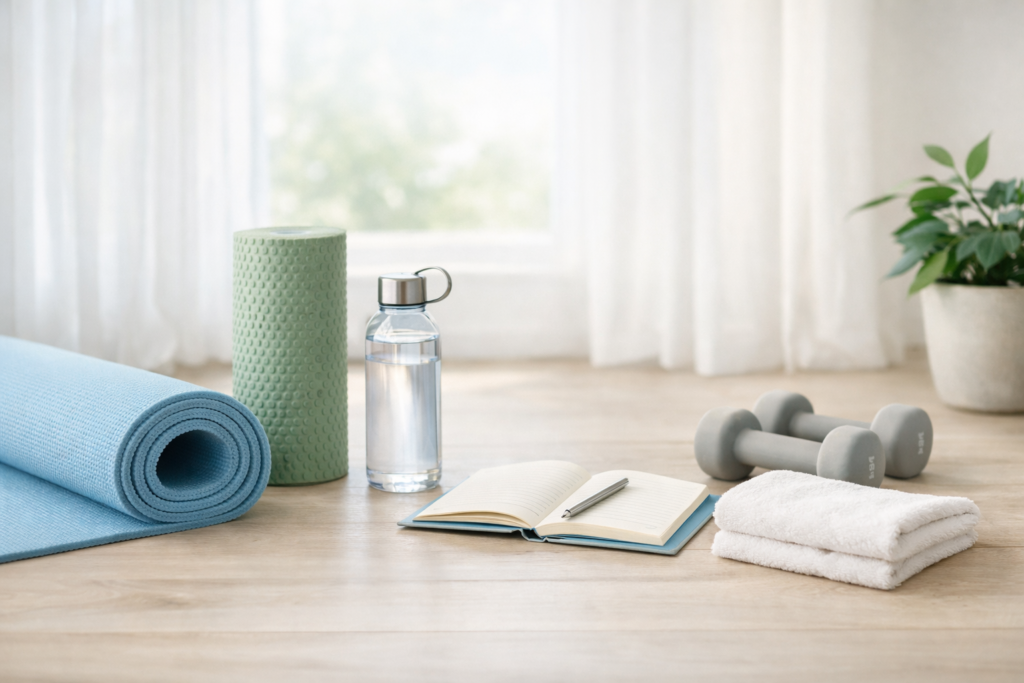
- A mat (so you’re not rolling on cold tile)
- Water + towel
- Timer
Why this works:
This tier makes you do something almost every day—which beats the “perfect routine” you do twice a month.
Best use cases
- desk stiffness
- gym soreness
- tight hips / upper back
- you need something that fits in 8–12 minutes
Tier 2: Make Recovery Automatic (Mid-tier, highest ROI)
This is where you add one anchor tool that turns recovery into a routine instead of a chore.
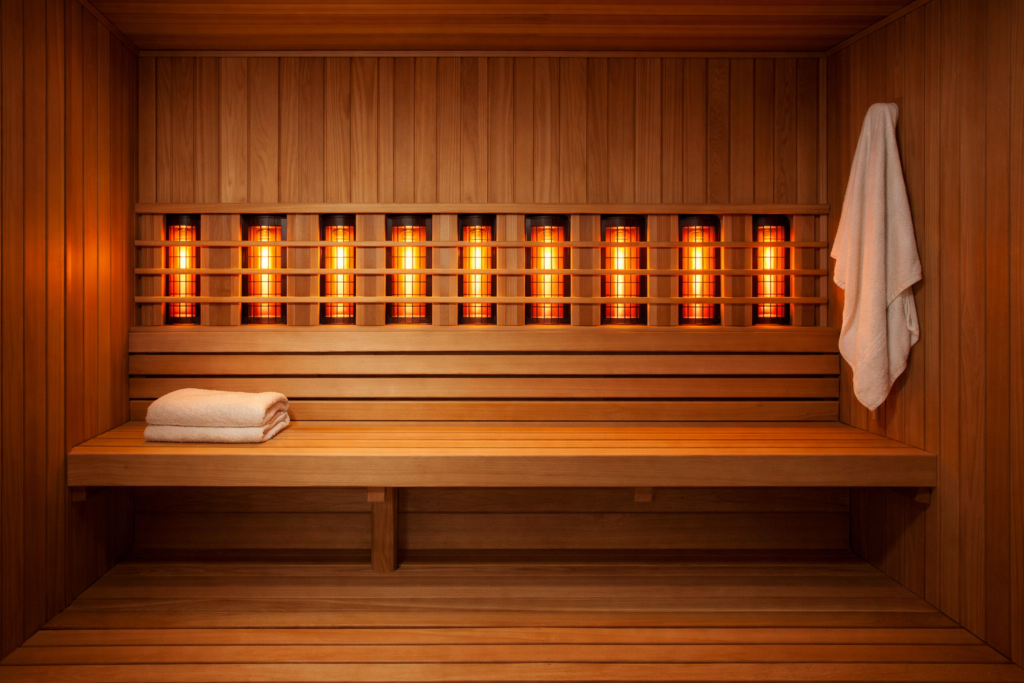
Option A: Infrared sauna anchor (sauna-first default)
Heat is easy to say yes to. If your goal is consistency, sauna usually wins.
What to include in your sauna zone
- towel system (bench towel + sweat towel)
- timer
- water
- simple hook/rack for robe/towel
- optional: small mat outside the sauna
If you’re shopping and want a no-guesswork path, start here:
Best At-Home Infrared Saunas for Recovery (Buyer’s Guide)
Option B: Cold plunge add-on (optional, not required)
Cold plunges can be awesome… if your setup doesn’t annoy you. For busy schedules, cold is best as an add-on once you’ve built consistency with heat.
If you do cold, keep it simple
- non-slip mat + towel
- thermometer
- cover
- basic water-care plan
If you’re newer to cold exposure, start here:
Cold Plunging for Beginners
If your long-term goal is to combine heat and cold in the same recovery session, read this next: Contrast Therapy: What the Science Says (and What I’ve Personally Learned).
Tier 3: The Recovery Room Setup (Premium, still simple)
This is where you combine sauna + cold + a few tools—without turning it into clutter.
The premium stack
- infrared sauna
- cold plunge
- massage gun or foam roller
- dedicated shelf: towels, water, timer
Important:
If your recovery area feels messy or annoying to use, you’ll stop using it. Premium setups fail because of friction, not because of “insufficient technology.”
A weekly routine for busy schedules (steal this)
This is a realistic routine that doesn’t require motivation.
The 12-minute default (4–6x/week)
- 2 minutes: slow breathing to downshift
- 6 minutes: tissue work (upper back + hips)
- 4 minutes: heat or a short cooldown walk/stretch (optional)
If you have an infrared sauna:
- 15–25 minutes, 2–4x/week (start at the low end)
If you add cold plunge later:
- 2–6 minutes, 2–4x/week (based on tolerance and safety)
You don’t need long sessions. You need repeatable sessions.
How to choose what to buy without wasting money
This is where most posts turn into product dumping. We’re not doing that.
Step 1: Decide your anchor (heat vs cold)
- stiffness, stress, sleep, general soreness → sauna
- mood boost, “reset,” post-workout punch → cold plunge
- if you hate maintenance → sauna is usually the safer bet
- Still not sure which side fits you better? Read this first: Cold Plunge vs Infrared Sauna: Which Is Better for Recovery?
Step 2: Choose one tissue-work tool
- simple + cheap: foam roller + lacrosse ball
- convenience: massage gun
- if joints are cranky: go gentle, don’t crank on joints
- Do not turn this into a gadget collection. One tool you use beats five tools you avoid.
Step 3: Buy accessories that remove friction
Spend money on:
- mat
- towel system
- timer
- (if cold) thermometer + cover
…before you buy random “recovery gadgets.”
If you want my short list of setup tools that actually reduce friction, start here: Recommended Tools.
What mattered most (and what didn’t)
What mattered most
- convenience
- one anchor tool (sauna-first for busy schedules)
- predictable routine (same days, same time)
- hydration + cooldown
What didn’t matter as much as people think
- owning 10 different gadgets
- perfect temperature ranges
- complex protocols you can’t stick to
Safety note
If you have cardiovascular issues, blood pressure problems, pregnancy, or medical conditions, talk to your clinician before using extreme heat/cold. Don’t turn recovery into punishment.